By pressing the ![]() button on the top of the accounting screen, a new report profile can be created. The same dialog is displayed when editing existing report profiles from the profiles list.
button on the top of the accounting screen, a new report profile can be created. The same dialog is displayed when editing existing report profiles from the profiles list.
This section can be divided into three areas:
TopBar

Back
Back to the previous accounting page.
Refresh
Refresh the report data bar chart preview with the current filters
Export As
Export now the report based on the selected options and filters and in selected export format. Available formats are:
- CSV
Save
Save the report profile, the profile will be available in the report profiles list and it can modified / deleted any time
Right side
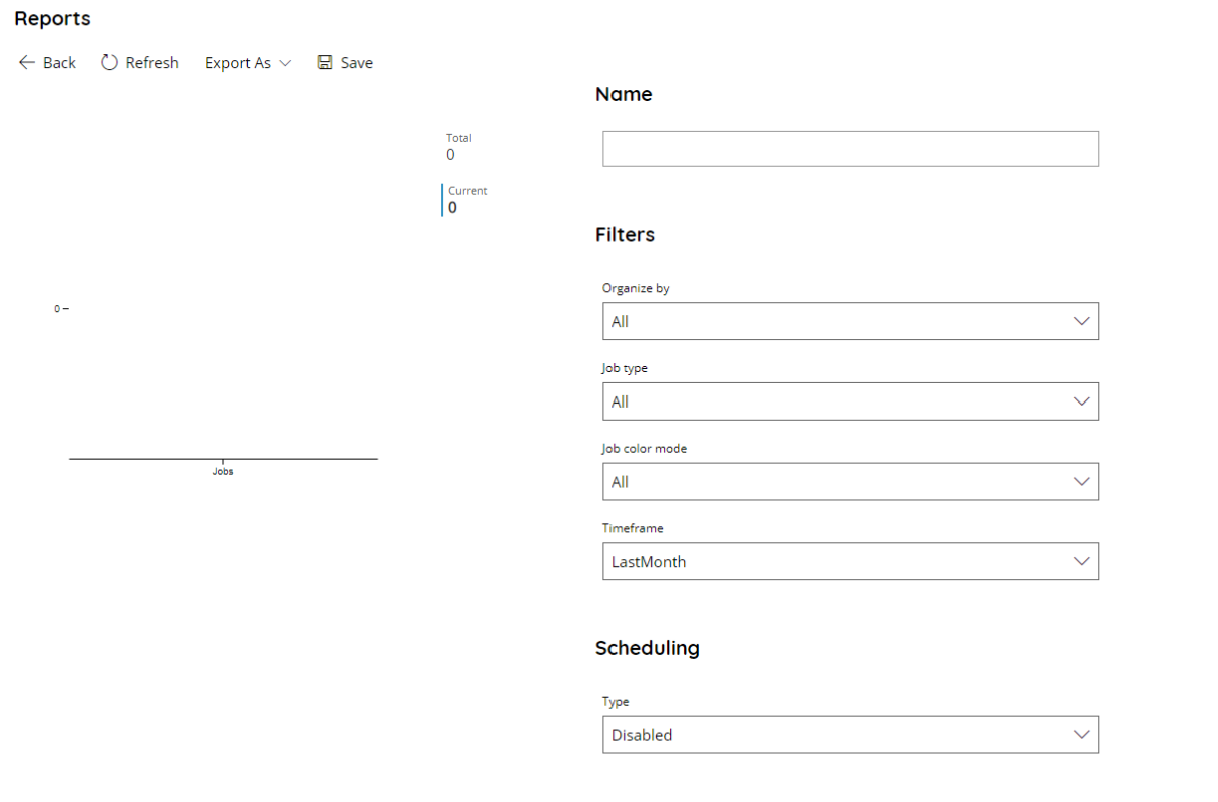
Here you can enter the various parameters of the report you are about to create or modify.
Name
Enter the name which will be identified the report profile with, any custom name or your choice is allowed.
Filters
You can choose which filters will be applied on the report when generated:
Organize by: This is the how the accounting data is aggregated at the time the report is generated.
- All
- Devices
- Users.
Job type: This is which type of jobs will be included in the aggregated data when the report is generated.
- All
- Copy
- Scan
- Fax.
Job color mode: This is which type of jobs in terms of the color mode will be included in the aggregated data when the report is generated.
- All
- Black and white
- Grayscale
- FullColor
Timeframe: This is the timeframe of the jobs which will be included in the aggregated data when the report is generated. Timeframe is intended in terms of the job creation date, e.g. if the jobs have been done in the specific timeframe as of the time when the report is generated.
- LastDay
- LastWeek
- LastMonth
- Last3Months
- Last6Months
- LastYear
- Custom (Controls to select the time rage with Start date and End date will appear)
Report profiles are saved and reports can be generated anytime by using the button Export As and select the desired format between the available options.
Scheduling
In order to get a report generated automatically on a certain interval Scheduling can be enabled. Available types of scheduling are:
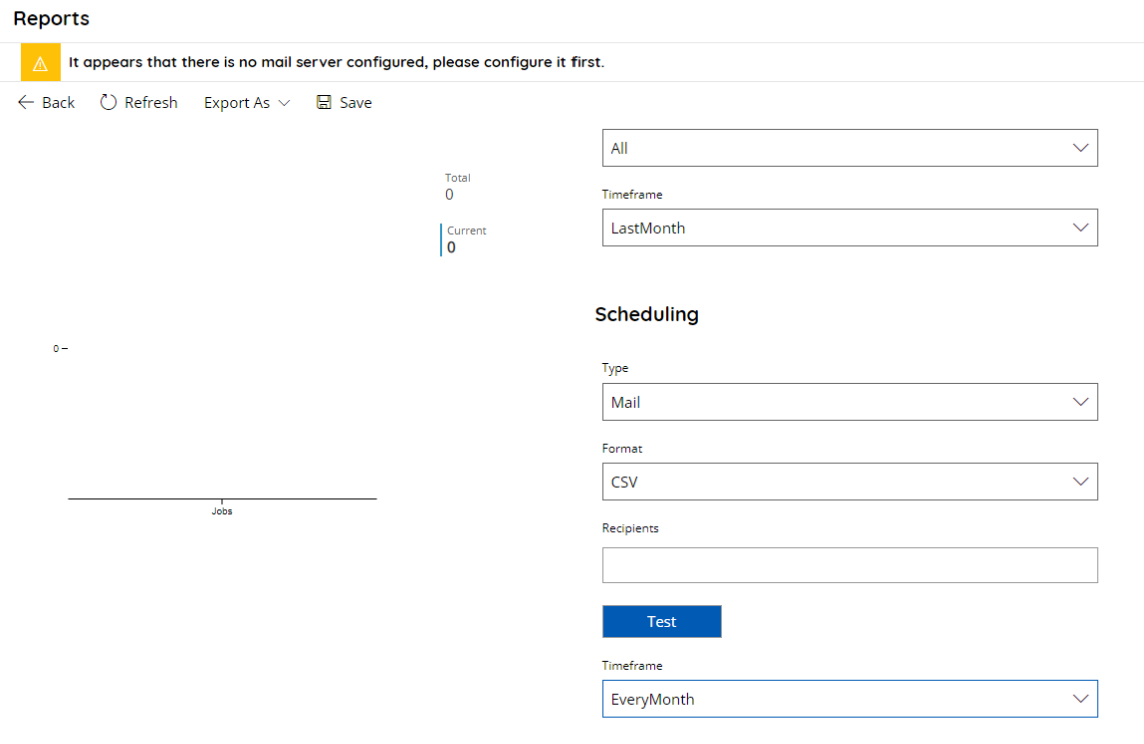
Make sure an email is set up otherwise you will see the above yellow message reminding you.
Format: select the desired format between the available formats in which the report will be automatically generated. This is the exported format which will be received automatically via mail.
Recipients: the list of recipients for this automated report. The format is a standard list of email addresses, multiple addresses can be inserted in the common mailing notation separated by semicolon.
Timeframe: This is the timeframe of the automated generated mails. Timeframe is intended in terms of a recurring scheduled interval when the emails need to be sent.
- EveryDay
- EveryWeek
- EveryMonth
- Every3Months
- Every6Months
- EveryYear
- Custom (Controls to select the time rage with Start date and End date will appear)
Left side
Here you can preview your report data in a diagram. You can always update it by clicking the button above Refresh.
A bar chart will be generated according the total number of jobs included in the aggregated report, by using the selected filters. This is just a preview function to check the number of jobs included in the configured report, no data is exported with the Refresh button.