Front
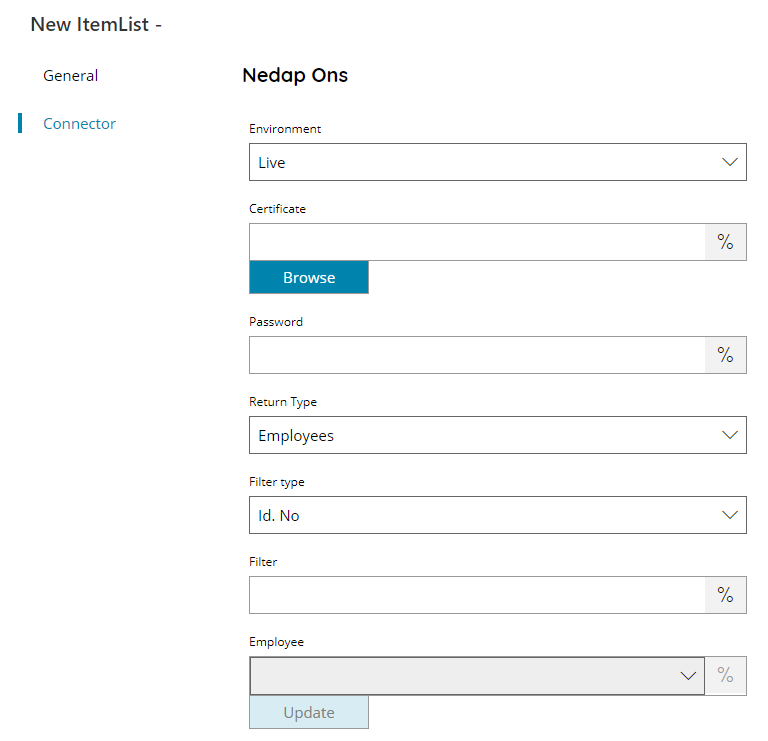
Environment
Select your Nedap Environment:
- Development
- Staging
- Live
Certificate
Enter or browse to the location of the certificate which will be used to authenticate to Nedap ONS, or click on the Variables button on the right, to select a variable which will contain the certificate location.
The certificate is expected to be in the format of PFX or P12, inclusive of the private key for authentication.
Password
Enter your Certificate password here, or click on the Variables button on the right, to select a variable which will contain the password.
Check login
If you select this button, Scanshare will try to establish a connection with the target Nedap environment using the provided certificate.
Return Type
Select the type of list you would like to return, this can either be:
- Employees
- Clients
- Expertise Groups
- Expertise Profiles
All options below are not available for Expertise Groups and Expertise Profiles selected Return Types.
Filter Type
Select your Filter type here, it optimize the search for the underlying filter field. Select between available options:
- ID
- Id. No
- BSN
- Search
Filter
Enter the filter keyword, according the previous selected Filter Type, or click on the Variables button on the right, to select a variable which will contain the filter.
BSN and Search Filter Types are available only for Clients. Search filter type will use the specified filter keyword as Query on the Clients retrieval.
Employee (available only for Return Type of Clients)
Select the employee for which return Clients, or click on the Variables button on the right, to select a variable which will contain the Employee. By pressing the update button, a list of available employees will be displayed.
Employee is intended to be in the integer format (the Employee ID). Email address can be specified as well, in this case the Employee with that email address will be searched.
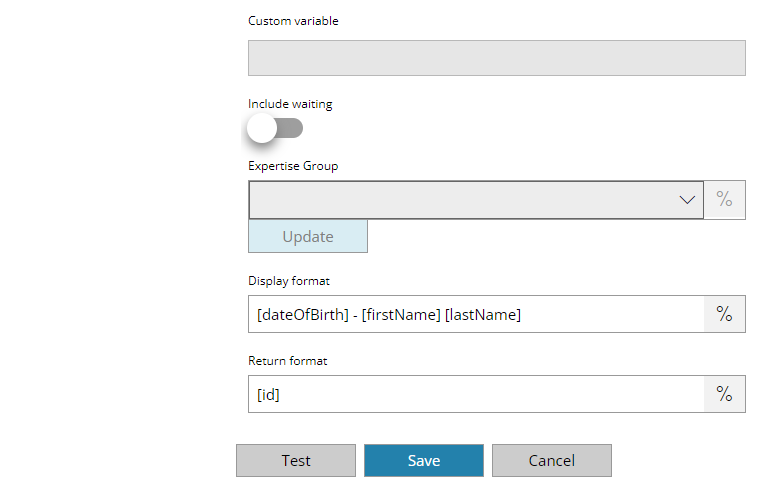
Custom variable (available only for Return Type of Clients)
Enter a custom variable name here to use as an Employee filter when returning Clients, or click on the Variables button on the right, to select a variable which will contain the target employee.
Include waiting (available only for Return Type of Clients)
If enabled will return also Clients with the status of ‘Waiting’, when not waiting clients are not returned.
Expertise Group (available only for Return Type of Expertise Profiles)
Select the group for which return Expertise Profiles, or click on the Variables button on the right, to select a variable which will contain the Group. By pressing the update button, a list of available Expertise Groups will be displayed.
Display format
Enter a string to specify the desired output display format of the item list entries, or click on the Variables button on the right, to select a variable which will contain the format string.
The string format can be composed by any static text and dynamic text built with the returned object fields written in the form of: [FIELDNAME]. Make sure the desired field exists and is filled for the returned items otherwise it will resolve to empty value.
Default value is [dateOfBirth] – [firstName] [lastName].
Return format
Enter a string to specify the desired output return format of the item list entries, or click on the Variables button on the right, to select a variable which will contain the format string.
The string format can be composed by any static text and dynamic text built with the returned object fields written in the form of: [FIELDNAME]. Make sure the desired field exists and is filled for the returned items otherwise it will resolve to empty value.
Default value is [id]. Store
Available fields for the both display and returned format strings are:
Employee
- id
- identificationNo
- firstName
- lastName
- preferredNameType
- birthName
- initials
- prefix
- birthNamePrefix
- partnerNamePrefix
- gender
- dateOfBirth
Client
- id
- identificationNo
- name
- firstName
- lastName
- givenName
- gender
- dateOfBirth
- secretClient
- addressString
- birthName
- partnerName
- birthNamePrefix
- partnerNamePrefix
- initials
- preferredNameType
- group
Store
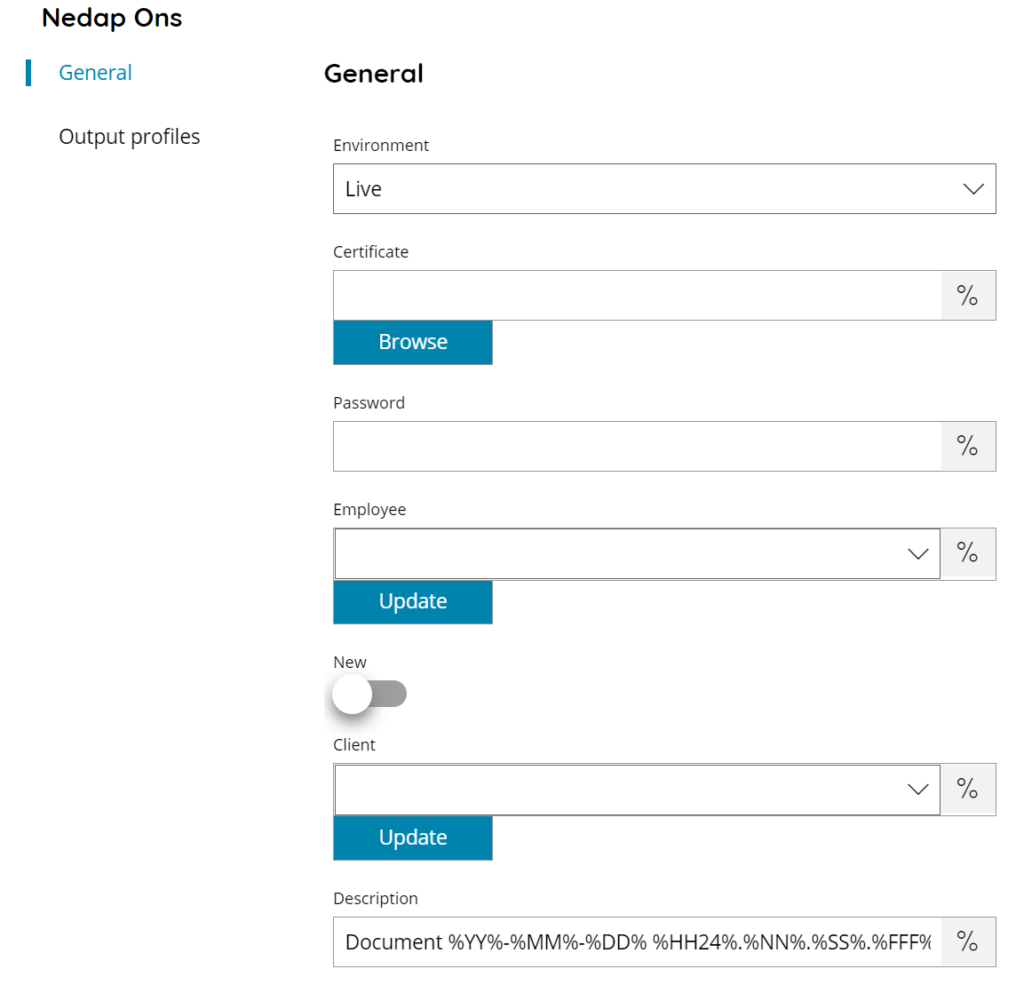
Environment
Select your Nedap Environment:
- Development
- Staging
- Live
Certificate
Enter or browse to the location of the certificate which will be used to authenticate to Nedap ONS, or click on the Variables button on the right, to select a variable which will contain the certificate location.
The certificate is expected to be in the format of PFX or P12, inclusive of the private key for authentication.
Password
Enter your Certificate password here, or click on the Variables button on the right, to select a variable which will contain the password.
Check login
If you select this button, Scanshare will try to establish a connection with the target Nedap environment using the provided certificate.
Employee
Select the Employee to which upload the document or a picklist will appear after pressing the update button with all available Employee. Or click on the Variables button on the right, to select a variable which will contain the Employee
Client
Select the Client to which upload the document or a picklist will appear after pressing the update button with all available Client. Or click on the Variables button on the right, to select a variable which will contain the Client
New
If enabled will create a new Client for which upload the document. A new section Client will be visible to fill the new Client fields.
Description
Enter the description for the document to upload to Nedap Ons, or click on the Variables button on the right, to select a variable which will contain the description.
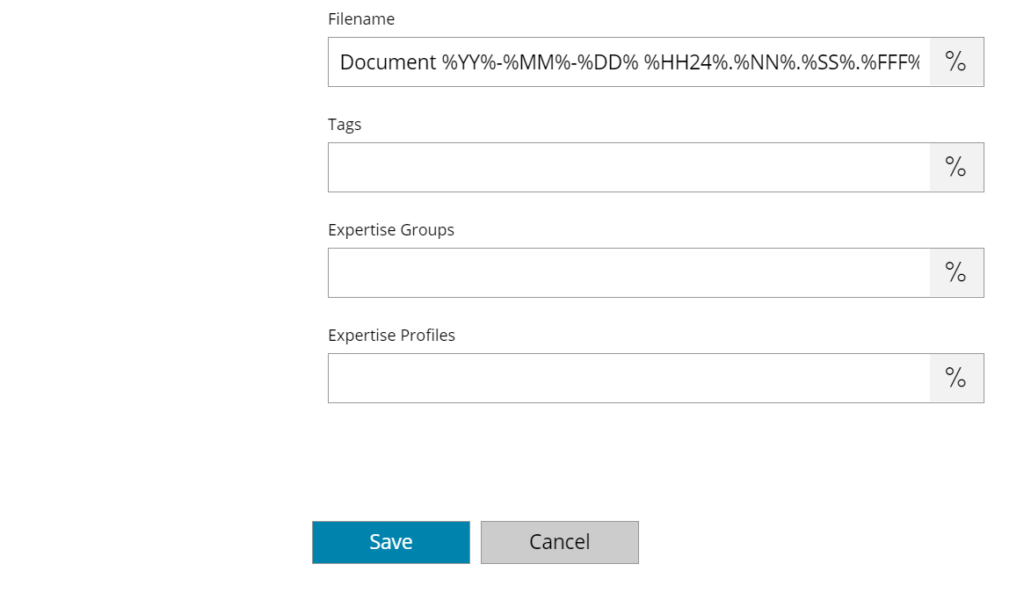
Filename
Enter the filename for the document to upload to Nedap Ons, or click on the Variables button on the right, to select a variable which will contain the filename.
Tags
Enter the tags for the document to upload to Nedap Ons, or click on the Variables button on the right, to select a variable which will contain the tags.
Expertise Groups
Enter the Expertise Groups for the document to upload to Nedap Ons, or click on the Variables button on the right, to select a variable which will contain the experties groups.
Experties Profiles
Enter the Experties Profiles for the document to upload to Nedap Ons, or click on the Variables button on the right, to select a variable which will contain the experties profiles.
Client
Id. No
Enter the identification number for the new Ciient to create into Nedap Ons, or click on the Variables button on the right, to select a variable which will contain the number.
Initials (Mandatory)
Enter the initials the new Ciient to create into Nedap Ons, or click on the Variables button on the right, to select a variable which will contain the initials.
First name (Mandatory)
Enter the first name for the new Ciient to create into Nedap Ons, or click on the Variables button on the right, to select a variable which will contain the first name.
Last name (Mandatory)
Enter the last name for the new Ciient to create into Nedap Ons, or click on the Variables button on the right, to select a variable which will contain the last name.
Date of birth
Enter the birth date for the new Ciient to create into Nedap Ons, or click on the Variables button on the right, to select a variable which will contain the birth date.
Gender
Enter the gender for the new Ciient to create into Nedap Ons, or click on the Variables button on the right, to select a variable which will contain the gender.
Address
Enter the address for the new Ciient to create into Nedap Ons, or click on the Variables button on the right, to select a variable which will contain the address.
Email address
Enter the email address for the new Ciient to create into Nedap Ons, or click on the Variables button on the right, to select a variable which will contain the email address.
Mobile phone
Enter the mobile phone number for the new Ciient to create into Nedap Ons, or click on the Variables button on the right, to select a variable which will contain the mobile phone number.