The users menu shows you a list of all configured and available users.
Users are first of all local Scanshare users created to use the software, both administrators who can access the full configurations and regular users who can use user based functionalities, according the installed license.
After creating a user it can login from the Scanshare login page accessing the functionalities based on its role.
The users list shows also additional, not local created, users such as OAuth Users and External Authenticated Users.
Users can be put together in a Group which allows you to change settings for multiple users at once. Groups are displayed horizontal in a gray bar with an arrow to collapse them on the left side and group controls on the right side (Edit, Delete).
Deleting a group will delete all the users contained inside.
It is also possible to search through the users by using the search function on the upper right side.
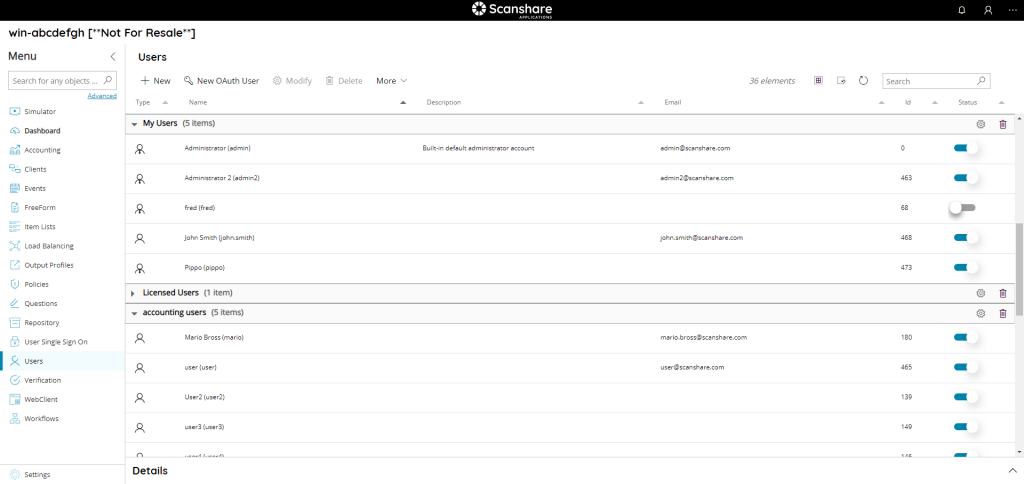
The view of the table is very easy and intuitive:
• Type
The type of user identified by image.
• Name
The name of the user (assigned name at the time of the creation or retrieved name when automatically created).
• Description
A short distinguish description of the user.
• Email
The email address of the specific user, if defined.
• Id
The id associated with your user. It is unique and it is the id of your user inside the DB.
• Status
If the user is enabled or not. The status of new users is automatically set to true when a new user is created. In the users menu you can easily set this to false by clicking on the indicator. The user will then be grayed out, the indicator will be gray and set to off.
A user marked as disabled will not be allowed to login to the Scanshare server producing a “Login failed” error message. Always make sure the user is enabled if you get such error.
On the top of users list there are users controls.

• New
Create a new user, opens the New User dialog.
• New OAuth User
Create a new OAuth user following the OAuth authorization process, opens the New OAuth User dialog.
This process requires the end user present because the OAuth authorization process will require for its login into the target third party application.
• Modify
Modify the selected user, opens the New User dialog.
• Delete
Delete the selected users.
• More
Shows extra users controls:
- Import: bulk import users from a CSV list
Browse allows to upload the CSV file to the server, this operation stores the file in the local Scanshare data folder.
Always on Top Bar on the right hand side we can find general list controls.
• # elements
Number of the users available in the list
• Select all
Select all users available in the list
• Unselect all
Unselect all clients available in the list
• Refresh
Refresh the users list (reload users)
• Search
Filter the list by either information available for each user:
- id
- type
- name
- description
- group name
- group description
- username
- email address
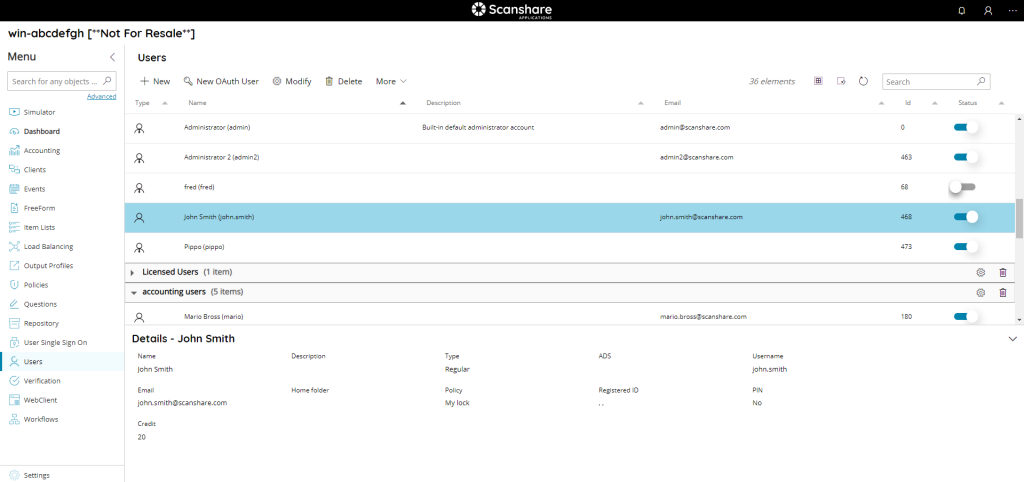
On the bottom of the page there is a details dialog, it shows-up when you click on a user and here you can quickly view information about the selected user.
Import
Users can be bulk imported and created with the specific Import function available in the More top bar menu entry. The import function allows importing from a pre-defined CSV file which contains information on the user(s) to import.
The format of the CSV file is composed by the following values in the order as they appear:
- Status (Integer, 0 or 1)
- Type (String)
- Group (String, name)
- Name (String)
- Description (String)
- Username (String)
- Password (String)
- Email address (String)
- Home folder (String)
- Authentication ID 1 (String)
- Authentication ID 2 (String)
- Authentication ID 3 (String)
- Authentication PIN (String)
- Authentication available credit (double)
- Result (String)
Download below a sample CSV.