Store
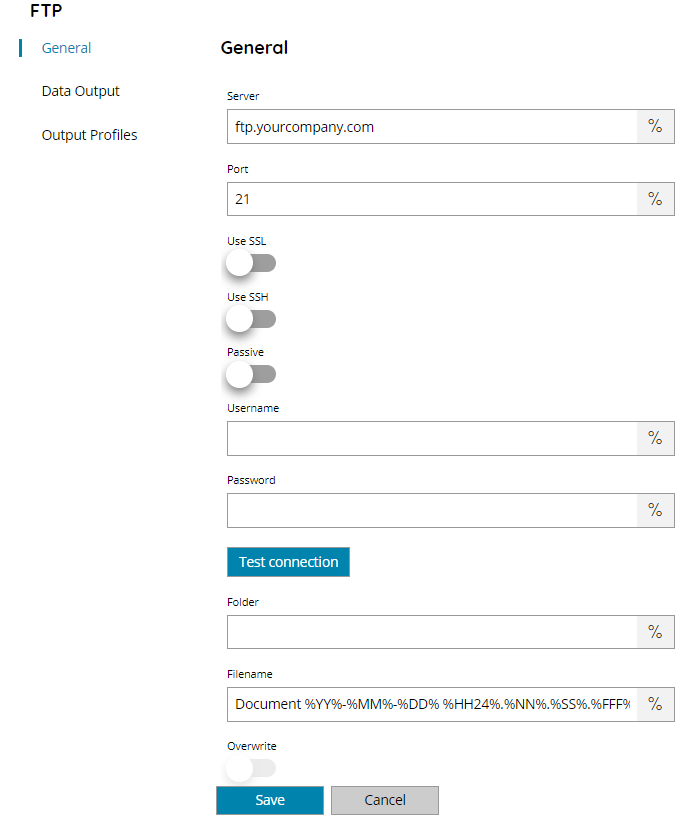
Server
Enter the address of the FTP server or select a Variable which will contain the target address. The value can be either a DNS or an IP address.
Port
Enter the target listening port of the FTP server or select a Variable which will contain the target port.
Use SSL
If enabled SSL connection will be established using the provide port above. Make sure to specify the correct port for SSL connections as normally they use a different port.
This type of connection is what it is called FTPS, FTP over SSL.
Use SSH
If enabled SSH connection will be established using the provide port above. Make sure to specify the correct port for SSH connections as normally they use a different port. When enabled a field to specify the private key to use during connection will be displayed.
This type of connection is what it is called SFTP, SSH FTP.
Passive
If enabled a passive command will be issued to upload the document over a passive channel. When disabled the connector is using an active connection. Make sure to have the correct firewall settings when either using an active or passive connection.
Username and Password
Provide the credentials to login to the FTP server in these two fields or select a variable containing the right values. Make sure the provided account has enough rights to perform the store operation and the folder listing or creation according the provided settings.
Private key
Enter or browse to the location of the private key which will be used to authenticate on the SSH channel, or click on the Variables button on the right, to select a variable which will contain the key location.
Browse allows to upload the key to the server, this operation stores the key file in the local Scanshare data folder.
For security and privacy reasons the filename is always referring to the Scanshare data folder and not to a full absolute path. Do not insert absolute paths which will generate instead an error.
The key is expected to be in the format of PPK and it is connected to the provided user credentials above.
Test Connection
This button tries to connect to the FTP server with the settings as entered before. If all settings are correct, a message will show up stating everything is OK. If a connection cannot be established, a message will show up, stating why, e.g. “The password is invalid”
Folder
Enter the name of the folder on the FTP server you want to store the processed documents to. If the folder doesn’t exist it will be created if the provided user has rights to do so.
Filename
By default, the filename will always be set as in the screen above. Since the “%” mark variables, the actual filename will be the word “Document” followed by the current year, a dash, current month, a dash, current day, a space, and a time stamp consisting of the hours in 24 hours format, the minutes and seconds. This will always create a unique filename, which also makes it easy to know the creation date just by looking at its name, for example: Document 14-08-05 14.18.03.
Overwrite
This setting determines what will happen when the filename already exists in the specified folder. If enabled the document will be overwritten otherwise an error will be generated and the document will not be uploaded.
Data Output
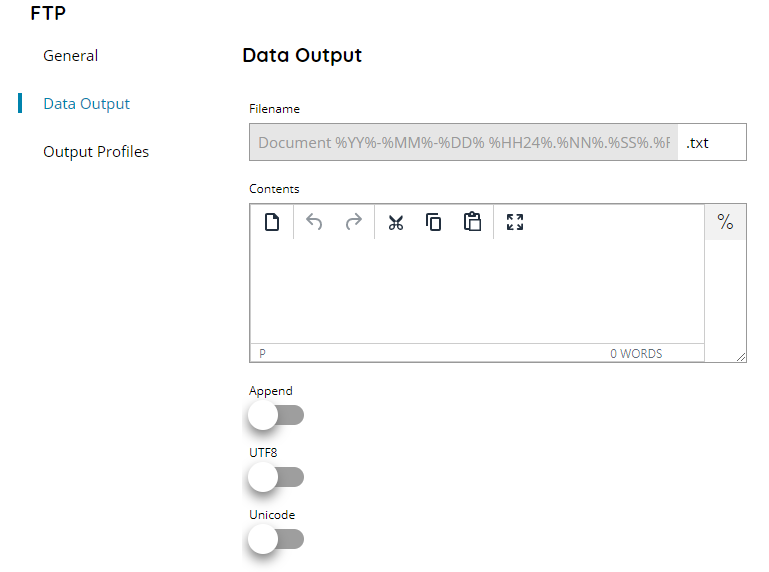
If this section is filled the configured data output (text file) will be created contextually and with the same filename of the output document.
Filename
Customize the extension of the data output file, or click on the Variables button on the right, to select a variable which will contain the extension.
The filename is locked to be the same filename of the FTP output document. Change the document filename above to reflect this one changing too.
Contents
Enter the text contents to write in the data output file, or click on the Variables button on the right, to select a variable which can be used in the contents.
Append
If enabled and the output filename is already existing the contents will be appended at the end of the existing file, otherwise the file is always overwritten.
UFT8
If enabled the data output will be saved using the UTF8 encoding.
Unicode
If enabled the data output will be saved using the Unicode encoding.
UTF8 and Unicode are exclusive to each other.