Start the installation by double clicking the installer setup file, e.g.
Scanshare Setup vx.x.x.x.exe
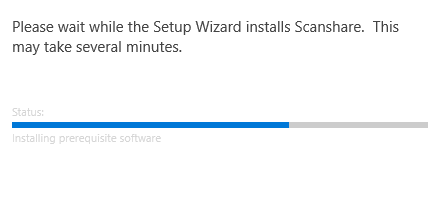
If any software pre-requisites are missing the installer will run a pre-requisite installation and may ask for a reboot before continuing, automatically, with the main application installation.
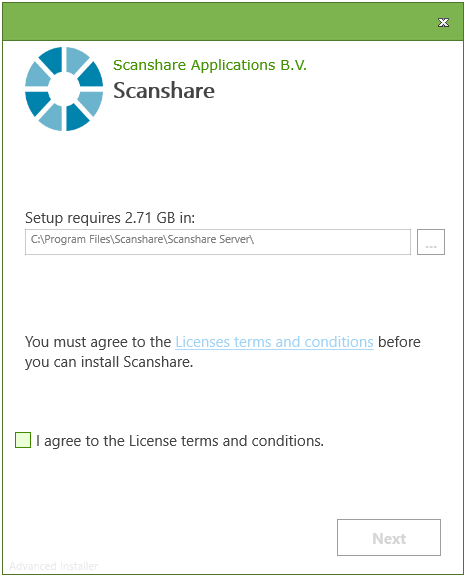
The installer will be started, here you can choose the installation folder and read and accept the license terms and conditions. Although you can choose any folder you like, we advise to keep the default setting if possible, which makes it easier in case you need support in the future.
After selecting next, a screen will appear, allowing you to choose the setup that suits you best.

Typical installation will install the software with the most common components and configurations, e.g. all components are installed by default.
Custom installation will propose a selection of the components to be installed, all the default components are marked while not desired components can be unmarked and they won’t be installed at all.
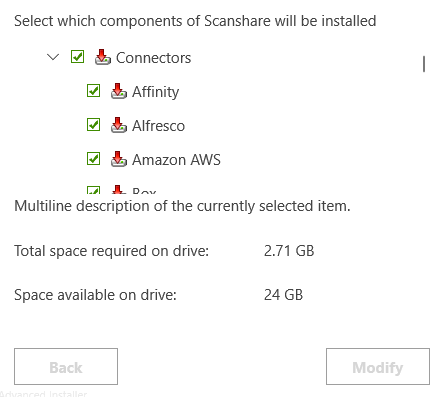
You can choose to select or deselect components to install.
When clicking “Modify”, installation will begin and will be applicable only selected components.
Once the installation has completed, you can start the application by opening the desktop or Start Menu Web Control Panel shortcut
Start-> Scanshare
Modify
Installation can be modified by either clicking Modify from the Windows Apps and Features section or by running the same installed version installer and using the Modify button.
Uninstall
Scanshare can be uninstalled by using the Windows App and Features section or by running the same installed version installer and using the Remove button.
Update
Updating an existing installation is an automatic process executed when a newer installer is performed over an existing version. Scanshare installer will automatically remove the existing old version and install the new one, all existing settings and license information are kept on the system.
Paths
The default installation path is located in Program Files:
C:\Program Files\Scanshare\Scanshare Server
The default data folder is located in ProgramData (hidden Windows all applications data folder):
C:\ProgramData\Scanshare
The data folder is created and populated at the first startup and contains all settings, temporary files, logs and all application data files.
Logging
If the installation process should fail with any error, standard Windows Installer logging can be enabled to record the whole process (install, modify, uninstall, update) for support troubleshooting.
Windows Installer allows you to enable logs by a specific command line parameter. To enable logging with the Scanshare installer open a Windows CMD as Administrator and run the installer with the following parameters:
Scanshare Setup vx.x.x.x.exe /L*V log.txt
Either select Modify or Remove if you are logging the modify / uninstall operations, otherwise standard installation will start.
The command will create the Windows Installer log file named log.txt next to the installer exe.