Front
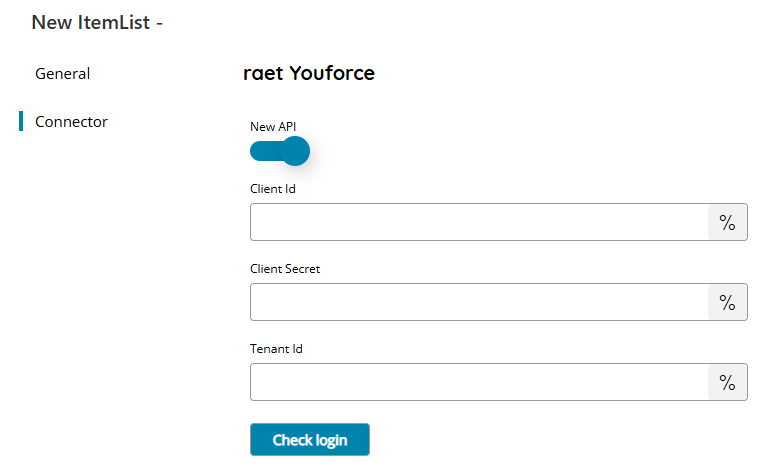

New API
If enabled connector will use the new Raet Youforce set of API’s, if supported authenticating via Client Id and Client Secret, while when disabled the old API’s authenticates via Certificate and Password.
Client Id
Enter your Client Id for authentication, or click on the Variables button on the right, to select a variable which will contain the Client Id.
Client Secret
Enter your Client Secret for authentication, or click on the Variables button on the right, to select a variable which will contain the Client Secret.
Tenant Id
Enter your Tenant Id for authentication, or click on the Variables button on the right, to select a variable which will contain the Tenant Id.
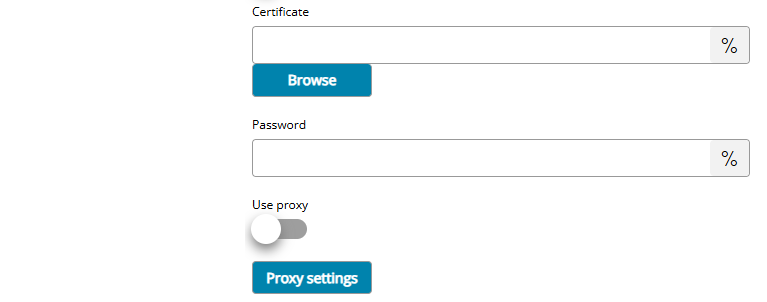
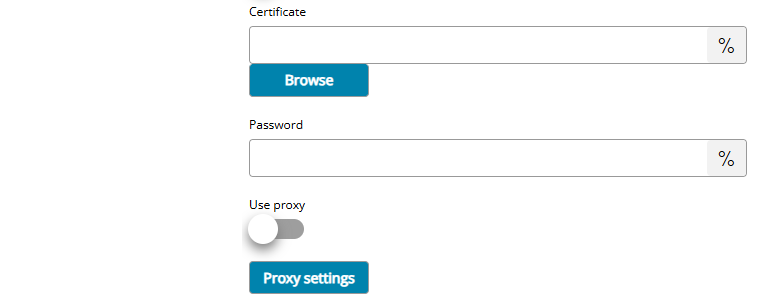
Certificate (old API)
Enter or browse to the location of the certificate which is also used when first Authenticating to Raet Youforce, or click on the Variables button on the right, to select a variable which will contain the certificate location.
The certificate is expected to be in the format of PFX or P12, inclusive of the private key for authentication.
Make sure the certificate has the correct permissions otherwise some functions may not work because not allowed to be executed.
Password (old API)
Enter your Certificate password here, or click on the Variables button on the right, to select a variable which will contain the password.
Use proxy (old API)
If your administrator has set up a proxy for your internet connections, you should check this option and provide proxy details by selecting the Proxy Settings button below. Ask your administrator for help in order to provide correct proxy settings.
Return type
Select which list you want to have returned. You can choose either:
- Category
- Product
- Employee
- Contract
- Folder
Folder (only available with list types Categories)
Select the folder from where you want to display the Categories from, or click on the Variables button on the right, to select a variable which will contain the Folder. By pressing the update button, a list of available folders will be displayed.
If specified only categories relative to the selected folder will be returned.
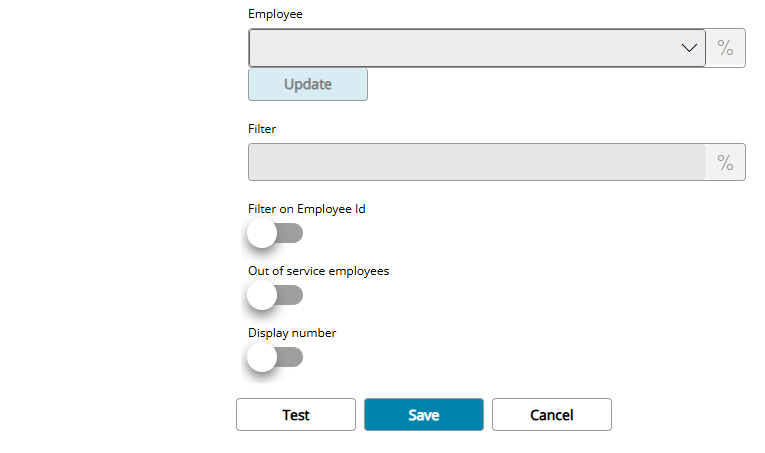
Employee (only available with list types Product, Contract and Folder)
Select the employee where you want to display the selected return objects from, or click on the Variables button on the right, to select a variable which will contain the Employee. By pressing the update button, a list of available employees will be displayed.
Filter (only available with list type Employee)
Enter the keyword to use as a filter while querying the employees list.
Filter on Employee Id (only available with list type of Employee)
When enabled the Filter field expects an Employee Id to filter on, otherwise filter is used across all employee fields.
Out of service employees
When enabled, query also out of service employees when retrieving objects relative to employees, otherwise only employees with an active employment are returned.
Display number (only available with list type Employee)
When enabled display the Employee number in the returned list.
Store
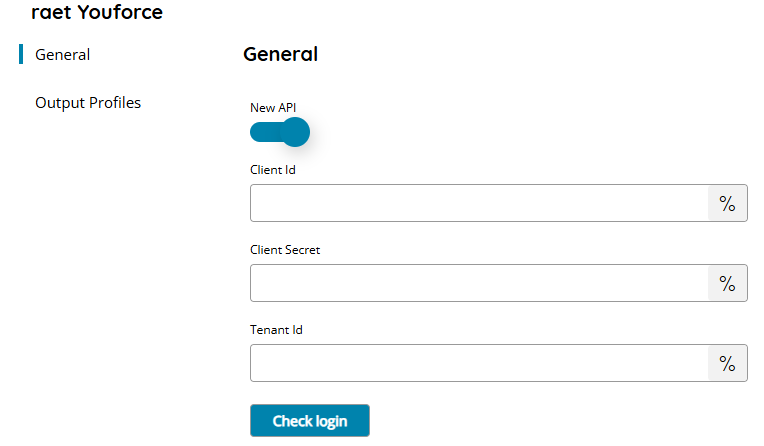
New API
If enabled connector will use the new Raet Youforce set of API’s, if supported authenticating via Client Id and Client Secret, while when disabled the old API’s authenticates via Certificate and Password.
Client Id
Enter your Client Id for authentication, or click on the Variables button on the right, to select a variable which will contain the Client Id.
Client Secret
Enter your Client Secret for authentication, or click on the Variables button on the right, to select a variable which will contain the Client Secret.
Tenant Id
Enter your Tenant Id for authentication, or click on the Variables button on the right, to select a variable which will contain the Tenant Id.
Certificate (old API)
Enter or browse to the location of the certificate which is also used when first Authenticating to Raet Youforce, or click on the Variables button on the right, to select a variable which will contain the certificate location.
The certificate is expected to be in the format of PFX or P12, inclusive of the private key for authentication.
Make sure the certificate has the correct permissions otherwise some functions may not work because not allowed to be executed.
Password (old API)
Enter your Certificate password here, or click on the Variables button on the right, to select a variable which will contain the password.
Use proxy (old API)
If your administrator has set up a proxy for your internet connections, you should check this option and provide proxy details by selecting the Proxy Settings button below. Ask your administrator for help in order to provide correct proxy settings.
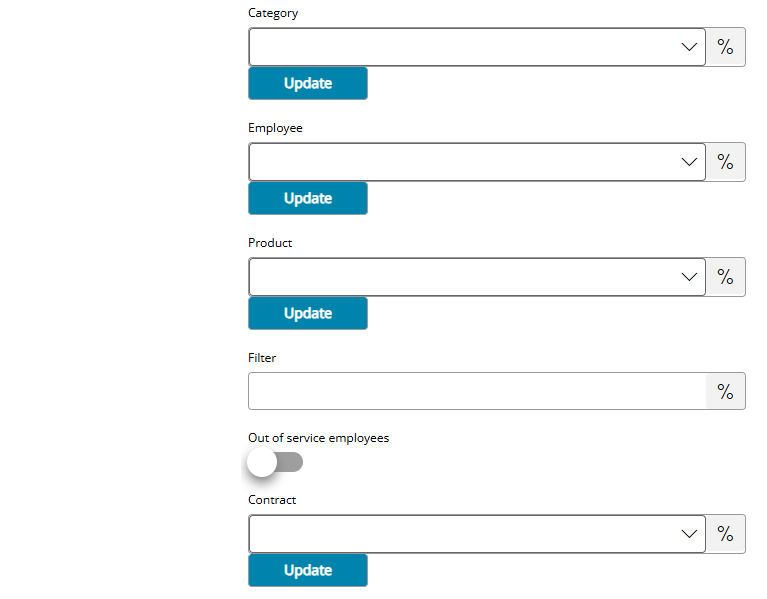
Category
Select the needed category here, or click on the Variables button on the right, to select a variable which will contain the key. By pressing the update button, a list of available categories will be displayed.
Employee
Select the employee where you want to save the file to, or click on the Variables button on the right, to select a variable which will contain the Employee. By pressing the update button, a list of available employees will be displayed.
Product
Select the Product (combination) of the document here or click on the Variables button on the right, to select a variable which will contain the Product. Depending on the selected employee, a list of available products will appear after pressing the update button.
This section indicates from which source system the data of the relevant employee originate. For this, a code is used for the various combinations of HR system / Payroll system. This code is important in order to determine how the identifying data should be interpreted when submitting documents. These differ per product combination. Currently the following product combinations are supported:
- BO4GEM -> Beaufort SE – Gemal
- BO4ASA -> Beaufort – Asap
- HRERPD -> HR Easy – RPD
- HRSGEM -> HRiS – Gemal
- PRIASA -> Primus – Asap
Filter
Enter the keyword to use as a filter while querying the employees list when selecting the Employee and its related objects.
Out of service employees
When enabled, the list of employees will also display all out of service employees, otherwise only employees with an active employment are returned.
Contract
Select the contract here, or click on the Variables button on the right, to select a variable which will contain the contract.
The employment number of the employee’s employment where the document relates to. If the employment number is left blank then the document will only be sent to the employee linked. If the employment number is filled, the document will be linked to the employment.
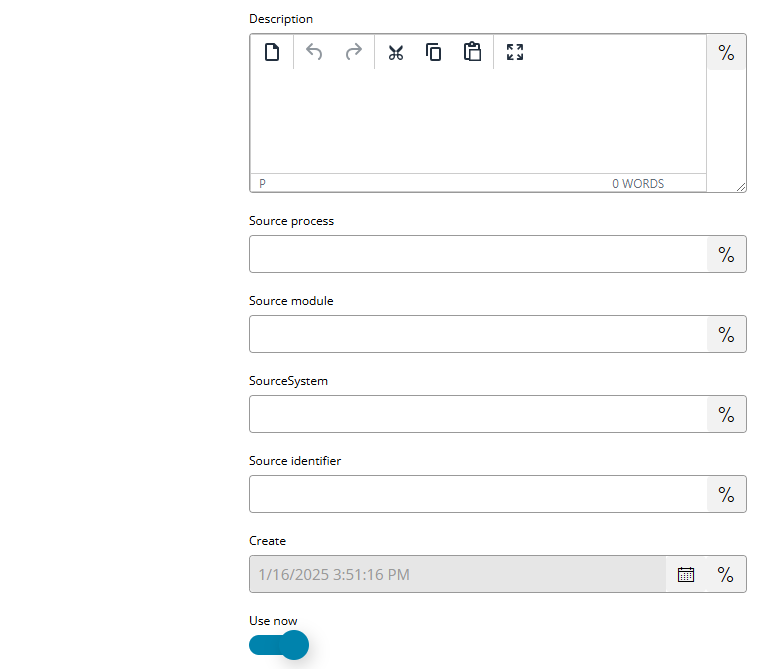
Description
Enter a description for your document here, or click on the Variables button on the right, to select a variable which will contain the description.
This is the description shown to the user in the “Results” tab. It is recommended not to enter the document type, employee name or starting date here as these are shown separately. Limits the description to the content of the document, such as “Copy of passport” or “Assessment 2014”.
The description max accepted length is 50 characters.
Annotation
Enter an annotation here, or click on the Variables button on the right, to select a variable which will contain the annotation. (max. 4000chars) will be displayed next to the document in ‘Weergave’.
A note that is saved with the document. The note is made visible in Personnel file next to the document in the tab “View”.
Source process
Enter the Source process here, or click on the Variables button on the right, to select a variable which will contain the source process. The Source process is either a description or a code of the process that generated the document. Used to uniquely identify the document, combined with the Source module, system and identifier. (max 50 characters).
This is a description or a code of the process that produced the document in the submitting system. Together with sourceModule and sourceIdentifier, this data is used to uniquely identify the document within Personnel File.
For example, “MFP 321” if the document comes from a Multi Functional Printer with code 321.
Source module
Enter the Source module here, or click on the Variables button on the right, to select a variable which will contain the source module. The Source module is a description of the process used to generate the document. Used to uniquely identify the document, combined with the Source process, system and identifier. (max 50 characters).
This is a description of the system that delivered the document via the Dossier Connector. This data is used together with the sourceModule and sourceIdentifier to uniquely recognize the document within Personnel File.
For example, “Company X Document Processor” if the document is provided by Company X’s system.
Source system
Enter the Source system here, or click on the Variables button on the right, to select a variable which will contain the source system. The Source system is a description of the process used to generate the document. Used to uniquely identify the document, combined with the Source process, module and identifier. (max 12 characters).
This is a description of the system that delivered the document via the Dossier Connector. This data is used together with the sourceModule and sourceIdentifier to uniquely recognize the document within Personnel File.
For example, “Company X Document Processor” if the document is provided by Company X’s system.
Source identifier
Enter the Source identifier here, or click on the Variables button on the right, to select a variable which will contain the source identifier. The Source Identifier is a code of the system that generated the document. Has to be unique, together with the Source process, system and module. With this code, the document can be recognized based on the identifying credentials of the delivery system. (max 50 characters).
This is a code that must be unique together with sourceProcess, sourceModule and sourceSystem. With this code, the document can be recognized based on the identifying data of it supplying system.
For example “AA12345” as a unique number including “MFP 321” from “Company X Document Processor”.
Create
Enter the creation date and time here, or click on the Variables button on the right, to select a variable which will contain the creation date and time. When ‘Use now‘ is enabled, the date of the document will be automatically set to the processing date and this field will be disabled.
The date must be in the following format: yyyyMMdd This concerns the date on which the content of the document became money or the date which is on the document. This is leading for determining the removal date on based on the retention period.
Use Now
Use the date of processing as Create date of the document. When enabled the Create date field is disabled.
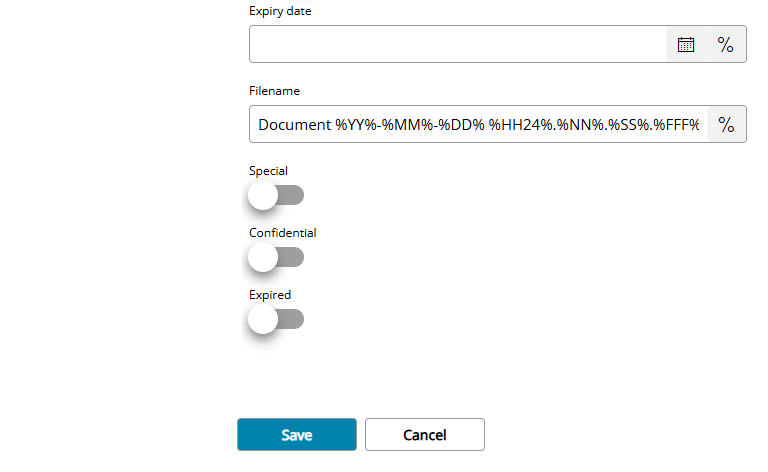
Expiry date
Enter the expiration date here, or click on the Variables button on the right, to select a variable which will contain the expiration date.
Possible validity date of the document. The date must be in the following format: yyyyMMdd The validity date refers to the content of the document, such as the validity date of a passport or work permit. On this date is the content of the document is no longer valid.
Filename
Enter the filename here, or click on the Variables button on the right, to select a variable which will contain the filename.
Special
If enabled the uploaded document will be marked as Special.
Confidential
If enabled the uploaded document will be marked as Condidential.
Expired
If enabled the uploaded document will be marked as Expired.