By pressing the ![]() button on the top of the screen, a new user can be created. The same dialog is displayed when editing existing users from the users list.
button on the top of the screen, a new user can be created. The same dialog is displayed when editing existing users from the users list.
The left hand side menu shows the available settings section. Settings are displayed according the selected section.
General
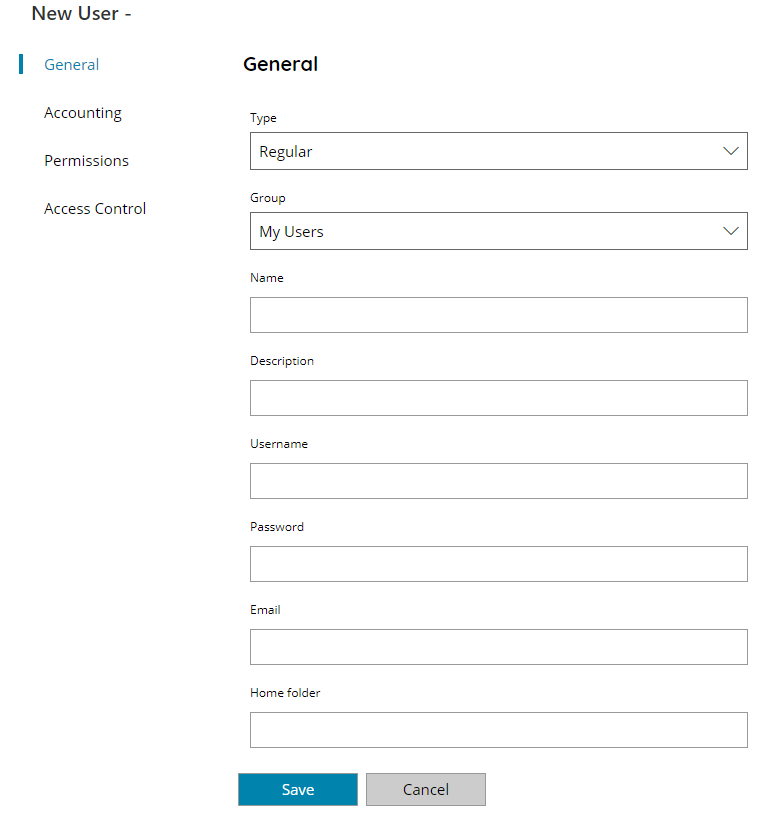
Type
Select the type of user to add, available options are:
- Administrator
- Regular
Group
Select a group here where to insert the new created user.
A group is always mandatory, there are no ungrouped users.
Group name
Define a name for the new group the create. Displayed when in Group is selected the option + (only option in new installations). The new group will be created together with the new user.
Name
Enter name for your user here (e.g. John Smith), the name will be the user distinguish name everywhere it is possible to view and use it.
Description
Enter a distinguish personal description for your use here (e.g. Financial Controller), the description is not shown anywhere.
Username
Enter the username of the user here, the username will be used to login with this user. If the username is already in use a warning will be displayed at the time settings are saved.
Password
Enter the password of the user here, the password will be used to login with this user.
Email
Enter the email address of the user here. The email address can be used anywhere such information is contextually valid (e.g. send a notification / document to the user scanning a job).
Home folder
Enter the home folder of the user here. The home folder can be used anywhere such information is contextually valid (e.g. store the user scan job into its home folder).
The home folder is referred to a path on the server or at least UNC path reachable by the server (without authentication).
Accounting
The Accounting section is only displayed if Accounting module is available in the current license.
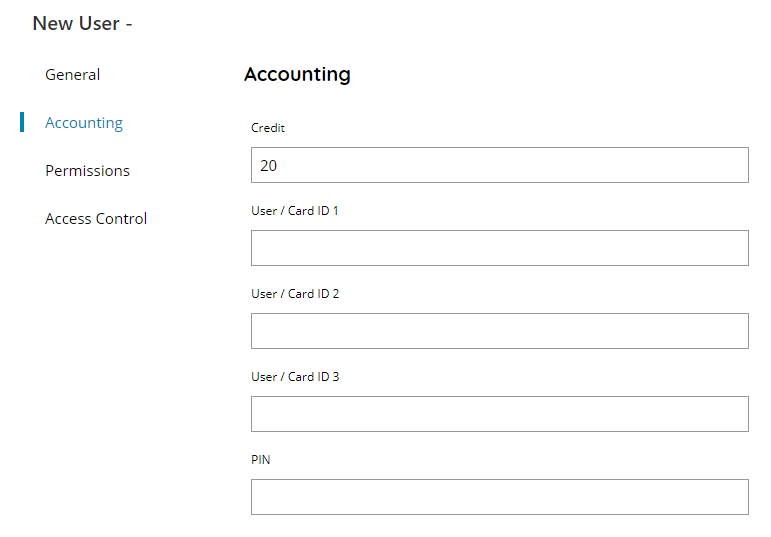
Credit
Enter the actual accounting credit for the current user here. Credit is used by the Accounting module in combination of the existing policy billing settings where the current user falls in.
All new users, also when automatically created, have a default credit of 20.
User / Card ID 1 / 2 / 3
Enter the ID’s to assign to the current user here, the ID’s will be used during authentication when User ID is enabled in the Accounting module. The fields contain also the ID’s of the cards registered for the current user.
When registering cards to the current user the first available free field will be used.
PIN
Enter the PIN of the current user here, the PIN will be used during authentication when PIN is enabled in the Accounting module, either with Card or User ID authentication.
Permissions
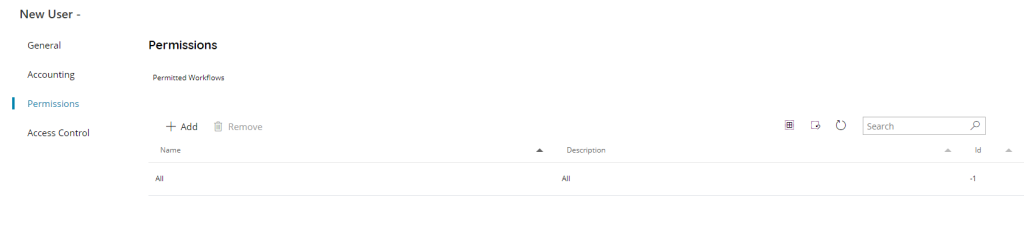
Here it is possible to set workflows permissions per user. By pressing the + Add button on the top of the modify user screen, you can add workflows to the permissions list. Default permissions are always ALL which means all new created workflows are visible wherever the current user will login.
By adding workflows to the permissions list only the selected workflows will be visible for the target user.
If any group permissions are in use they will override the user permissions. A warning will be visible in such cases.
The workflow permissions are matched in combination of the client permissions if set. Remember to check also the client (or profile) permissions if you see different workflows by login the current user on a specific client.
Access Control
The Access Control section is only displayed if Repository module is available in the current license.
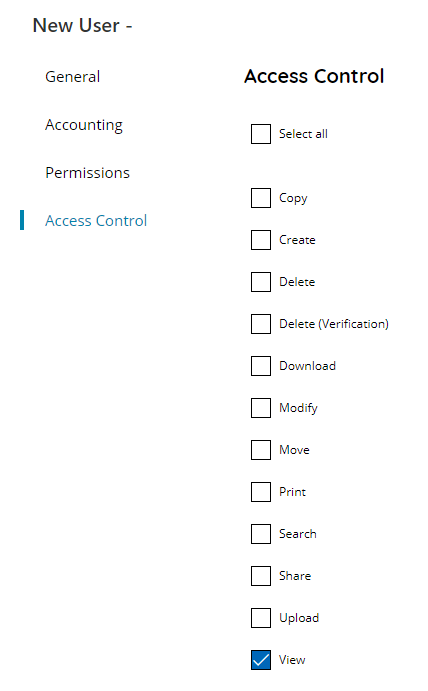
Here it is possible to set the rights on the Repository and Verification modules for the current user. You can choose either one or more rights to assign to the user.
All new users, also when automatically created, have by default only the View right.
Select All
Use to select automatically all available rights
Available rights are:
- Copy: allow copying an existing file to another folder
- Create: allow creating new documents
- Delete: allow deleting files from the repository
- Delete (Verification): allow deleting files from the verification queue
- Download: allow downloading files from the repository
- Modify: allow modify existing files such as overwriting and upload new revisions
- Move: allow moving an existing file to a different folder
- Print: allow print existing files where a print operation is available such as mobile clients
- Search: allow searching on the repository
- Share: allow creating new shares on existing files
- Upload: allow upload new files
- View: allow opening repository and viewing contents