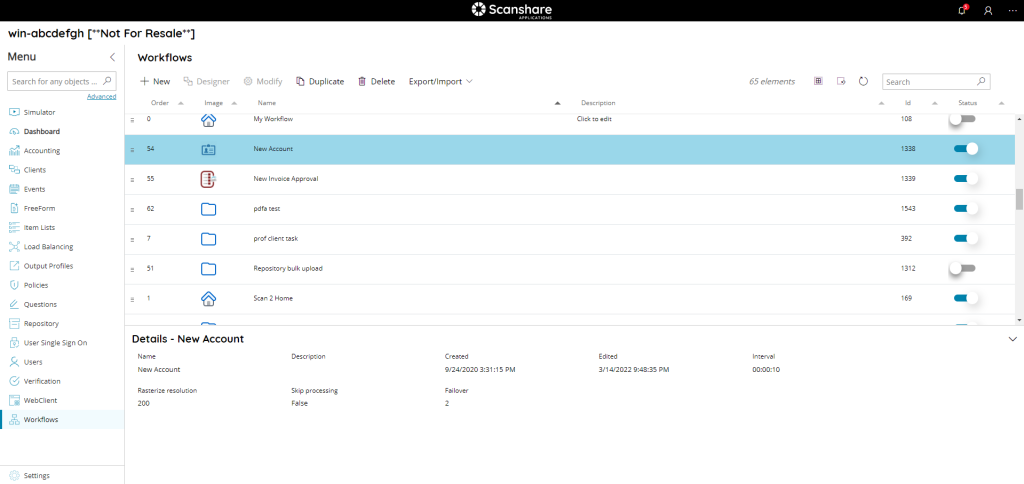
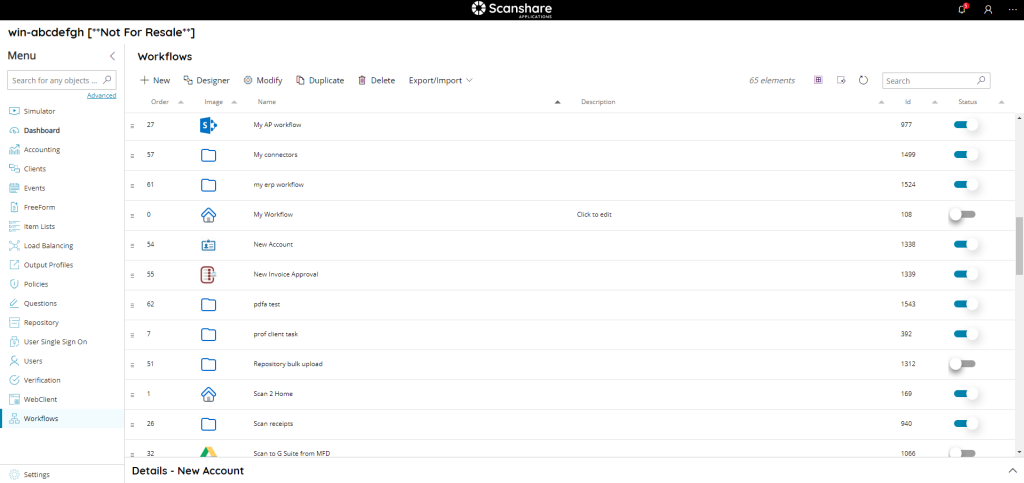
The workflow menu shows you a list of all currently configured workflows.
Workflows are sequences of tasks which run on source documents and / or data sequentially or dynamically based on live conditions. The tasks of a Workflow are document / data processing steps or conditional / logical action steps which can modify the behavior and / or the output of each other.
Workflows are typically deployed to the attached and connected Clients where they are displayed as buttons to start capturing documents and / or data via questions. Moreover Workflows are deployed to logged in Users as well where they can submit digital documents and / or data via digital Workflow capture sources.
Workflows are created via the specific powerful and flexible Workflow Designer.
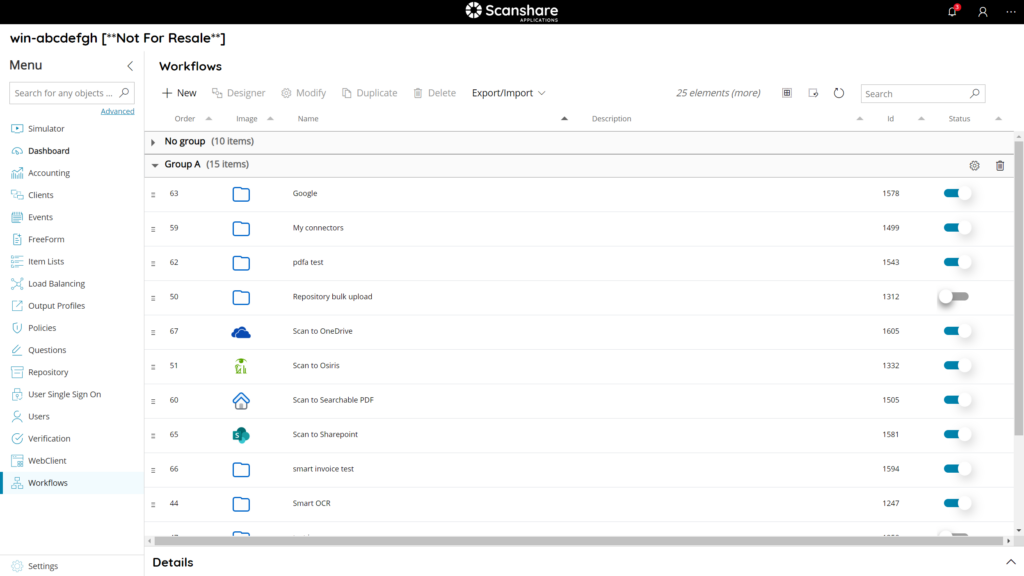
If Workflow Groups are enabled inside the Clients Settings or the WebClient Settings the table will show Groups as well displayed horizontal in a gray bar with an arrow to collapse them on the left side and group controls on the right side (Edit, Delete).
Ungrouped workflows will be displayed inside a group named No group. This group cannot be deleted because it is a system group to hold ungrouped workflows.
It is also possible to search though the workflows by using the search function on the upper right side.
The view of the table is very easy and intuitive:
• Order
The display order of the workflow. Workflows are displayed according this order, ascending, on the target client(s).
Drag and drop the workflows by using the grip handle on the left side of the row to swap their order.
• Image
The image of the workflow, which is displayed on the workflow buttons on every clients type.
• Name
The name of the workflow.
• Description
A short distinguish description of the workflow.
• Id
The id associated with your workflow. It is unique and it is the id of your workflow inside the DB.
• Status
If the workflow is enabled or not, a disabled workflow will not be visible for any connected clients/users. The status of a new workflow is automatically set to true when a new workflow is created. In the workflows menu you can easily set this to false by clicking on the indicator. The workflow will then be greyed out, the indicator will be gray and set to off.
On the top of workflows as you can see in each of our list, the new Top Bar:

• New
Create a new workflow, opens the Workflow Designer.
• Designer
Modify the selected workflow, opens the Workflow Designer.
• Modify
Modify the settings of the selected workflow, opens the Workflow Settings dialog.
• Duplicate
Duplicate the selected workflow(s) creating a full new copy of them.
A confirmation dialog is prompted to ask if linked Item Lists and Output Profiles must be duplicated as well. If marked any linked Item List and / or Output Profile inside any Workflow module will be duplicated as well, otherwise the new workflow copy will point to the existing copies used by the selected duplicating workflow.
The new copy will be named by appending the text Copy (1) where 1 is incremented in case multiple copies (or the copy name) are existing already. The same applies for duplicated item lists and / or output profiles.
• Delete
Delete the selected workflow(s).
• Export/Import
Shows workflow(s) export / import controls:
- Import: import workflow(s) from a previously exported XML file. Importing supports older versions export as well, however a sanity check across the settings is suggested especially when too much old version compared to the current running version.
- Export: export selected workflow(s) to a local XML file.
- Browse online: browse the online Scanshare library for default common workflow(s). The selected workflow(s) will be downloaded and imported into the local Scanshare server.
Always on Top Bar but to the right we find options for displaying the list:
• # elements
Number of the workflows available in the list.
• Select all
Select all workflow available in the list.
• Unselect all
Unselect all workflow available in the list.
• Refresh
Refresh the workflow list (reload workflows).
• Search
Filter the list by either information available for each workflow:
- id
- group name
- group description
- name
- description
On the bottom of the page there is a details dialog, it shows-up when you click on a workflow and here you can quickly view information about the selected workflow.