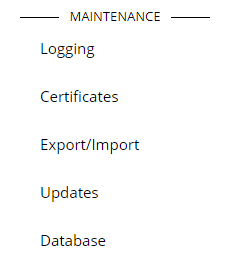
The Maintenance settings section contains settings regarding server maintenance and troubleshooting items.
The left hand side menu shows the available settings maintenance categories. Settings are displayed according the selected category.
Logging
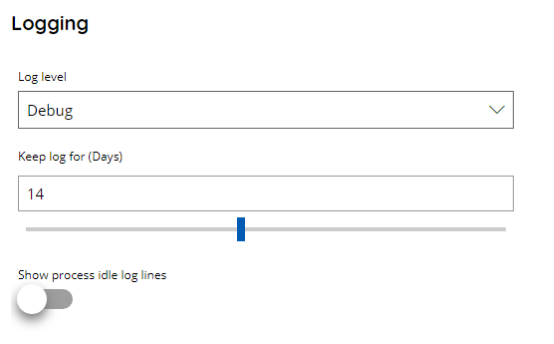
Log level
You can select the level of detail you would like to see in the logs. Available options are:
- Nothing
- Information
- Detailed
- Only Errors and Warning
- Only Errors
- Debug
Logs are located always under the Scanshare ProgramData folder, inside the Logs subfolder, and an additional subfolder for each Log Type.
The logs file naming convention will follow the rule:
LogOrigin_YYYY-MM-DD_(@HH.MM).txt
Where the LogOrigin is the origin from where the logs are generated according the Type subfolder, then a date timestamp changed daily and an additional hourly timestamp in case the log file goes above the size of 5Mb containing the exact time at which that log file has been closed to open the new one.
The log file without the hourly timestamp is always the latest one of the day.
Keep log for (Days)
Specify a number of maximum days you want to retain log files on disk. Older logs will be automatically deleted to free up space on the disk.
Show process idle log lines
Selecting this option will also show log lines indicating what the processing service is doing, even though no document is actually being processed. Those information includes for example workflows recurring scheduling and checking which, by default, are not logged.
Certificates
This section allows to handle existing created self-signed certificates, create new one, set them in use or download the public and private certificates to use them externally.
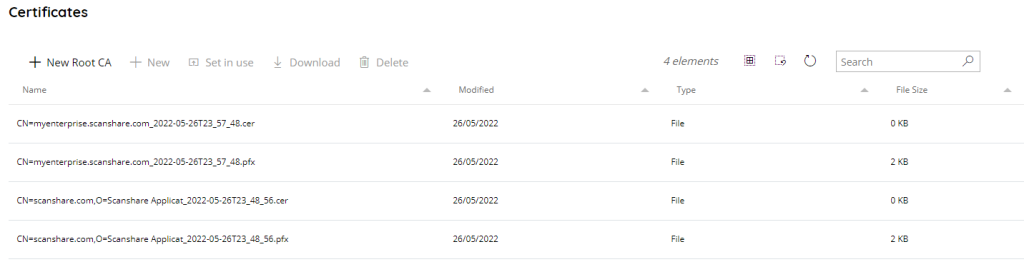
The view of the table is very easy and intuitive:
• Name
The filename of the listed certificates.
• Modified
The last modified date of the certificate file.
• Type
The type of the file system item (in this case always file).
• File Size
The size of the certificate file in KB.
On the top of certificates list there are certificate operations controls.

• New Root CA
Create a new Root CA (Certificate Authority) certificate. This certificate is required to create a new standard certificate.
• New
Create a new self signed certificate, it requires a Root CA certificate to be used as the authority which creates it.
• Set in use
Assign the current certificate (PFX, with private key) to all Scanshare IIS web applications. The selected certificate will be imported into the Windows certificates store.
The certificate private key password will be requested when performing this operation.
• Download
Download the current certificate file, either the PFX (with private key) or CER (public certificate) based on the selection.
• Delete
Delete the selected certificate file(s).
Always on Top Bar on the right hand side we can find general list controls.
• # elements
Number of the certificates available in the list
• Select all
Select all certificates available in the list
• Unselect all
Unselect all certificates available in the list
• Refresh
Refresh the certificates list (reload certificates from the local data folder)
• Search
Filter the list by either information available for each certificate:
- id
- name
- modified date
New Certificate
Creates a new Root CA or a regular certificate.
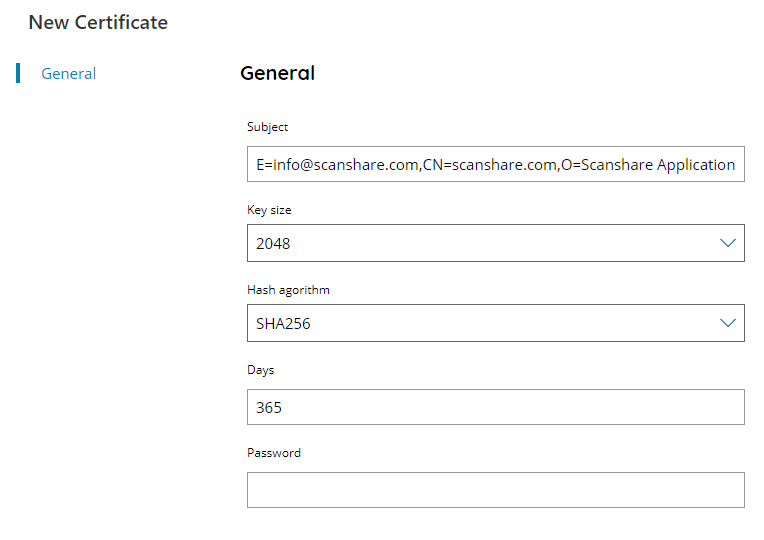
Subject
Enter the full subject of the certificate.
For Root CA the default Scanshare one is suggested unless there are special requirements. For standard certificates it is suggested to modify only the main CN to reflect your target server DNS / IP address (default public DNS is already set) leaving the same subject structure.
For standard certificates the entered CN (DNS or IP address) will be added also as SAN property in the generated certificate in order to pass certificate validity checks. Multiple CN’s are allowed in the standard RDN notation.
Key size
Select the target key size to be use for the new certificate.
Available options are:
- 1024
- 2048
- 4096
Hash algorithm
Select the target hash algorithm to use during certificate and key encoding.
Available options are:
- SHA1
- SHA256
- SHA384
- SHA512
Days
Enter the certificate validity time, in days.
Password
Enter the password to use for the private key of the certificate.
Export/Import
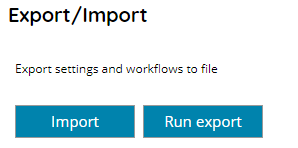
Import
Browse and select a backup database to import into the current installation.
Run Export
Creates and exports a full database backup file.
Updates

Automatic Updates
This option lets you enable or disable the Automatic updates. When enabled the application will check for updates regularly. When disabled, you can check manually for updates by pressing on the info button.
For more information about updates please refer to the Updates section.
Database
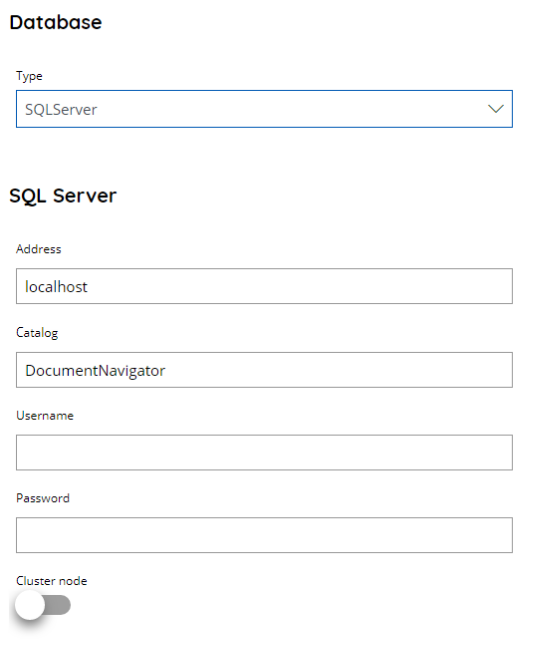
Type
Select the type of database to use with Scanshare. Available and supported database types are:
- SQLite
- SQLServer
SQLite is the default database and it is located always under the Scanshare ProgramData folder, inside the Settings subfolder, the filename is: Settings.dat.
Database type can be migrated and changed anytime without removing the existing database. When switching the database type a Migrate button will appear which will first validate the settings, if any, and then migrate the existing data into the new selected type.
Additional options below might appear based on the selected database type.
SQL Server
Address
Insert the address of your SQL database here, can be either an IP Address or a DNS name.
Catalog
Customize the database name which will used by Scanshare or leave the default value.
Username & Password
Enter the SQL Server credentials, as SQL authentication, to login to the target specified SQL server. The account needs to have all permissions on the target database because application updates might run database structure modifications on existing databases.
Cluster node
Enable this option when using the SQL server as part of a Load Balancing installation and this is a manger node sharing the same application database for all manager nodes.