Barcode Writer allows creation and rendering of barcodes on the current document.
The configuration is done by drawing a zone where the target barcode needs to be created and the module will render, and adapt, the output barcode in the selected area.
Every zone added is configured with the specific barcode type and value to generate.
The left hand side menu shows the available settings section. Settings are displayed according the selected section.
General

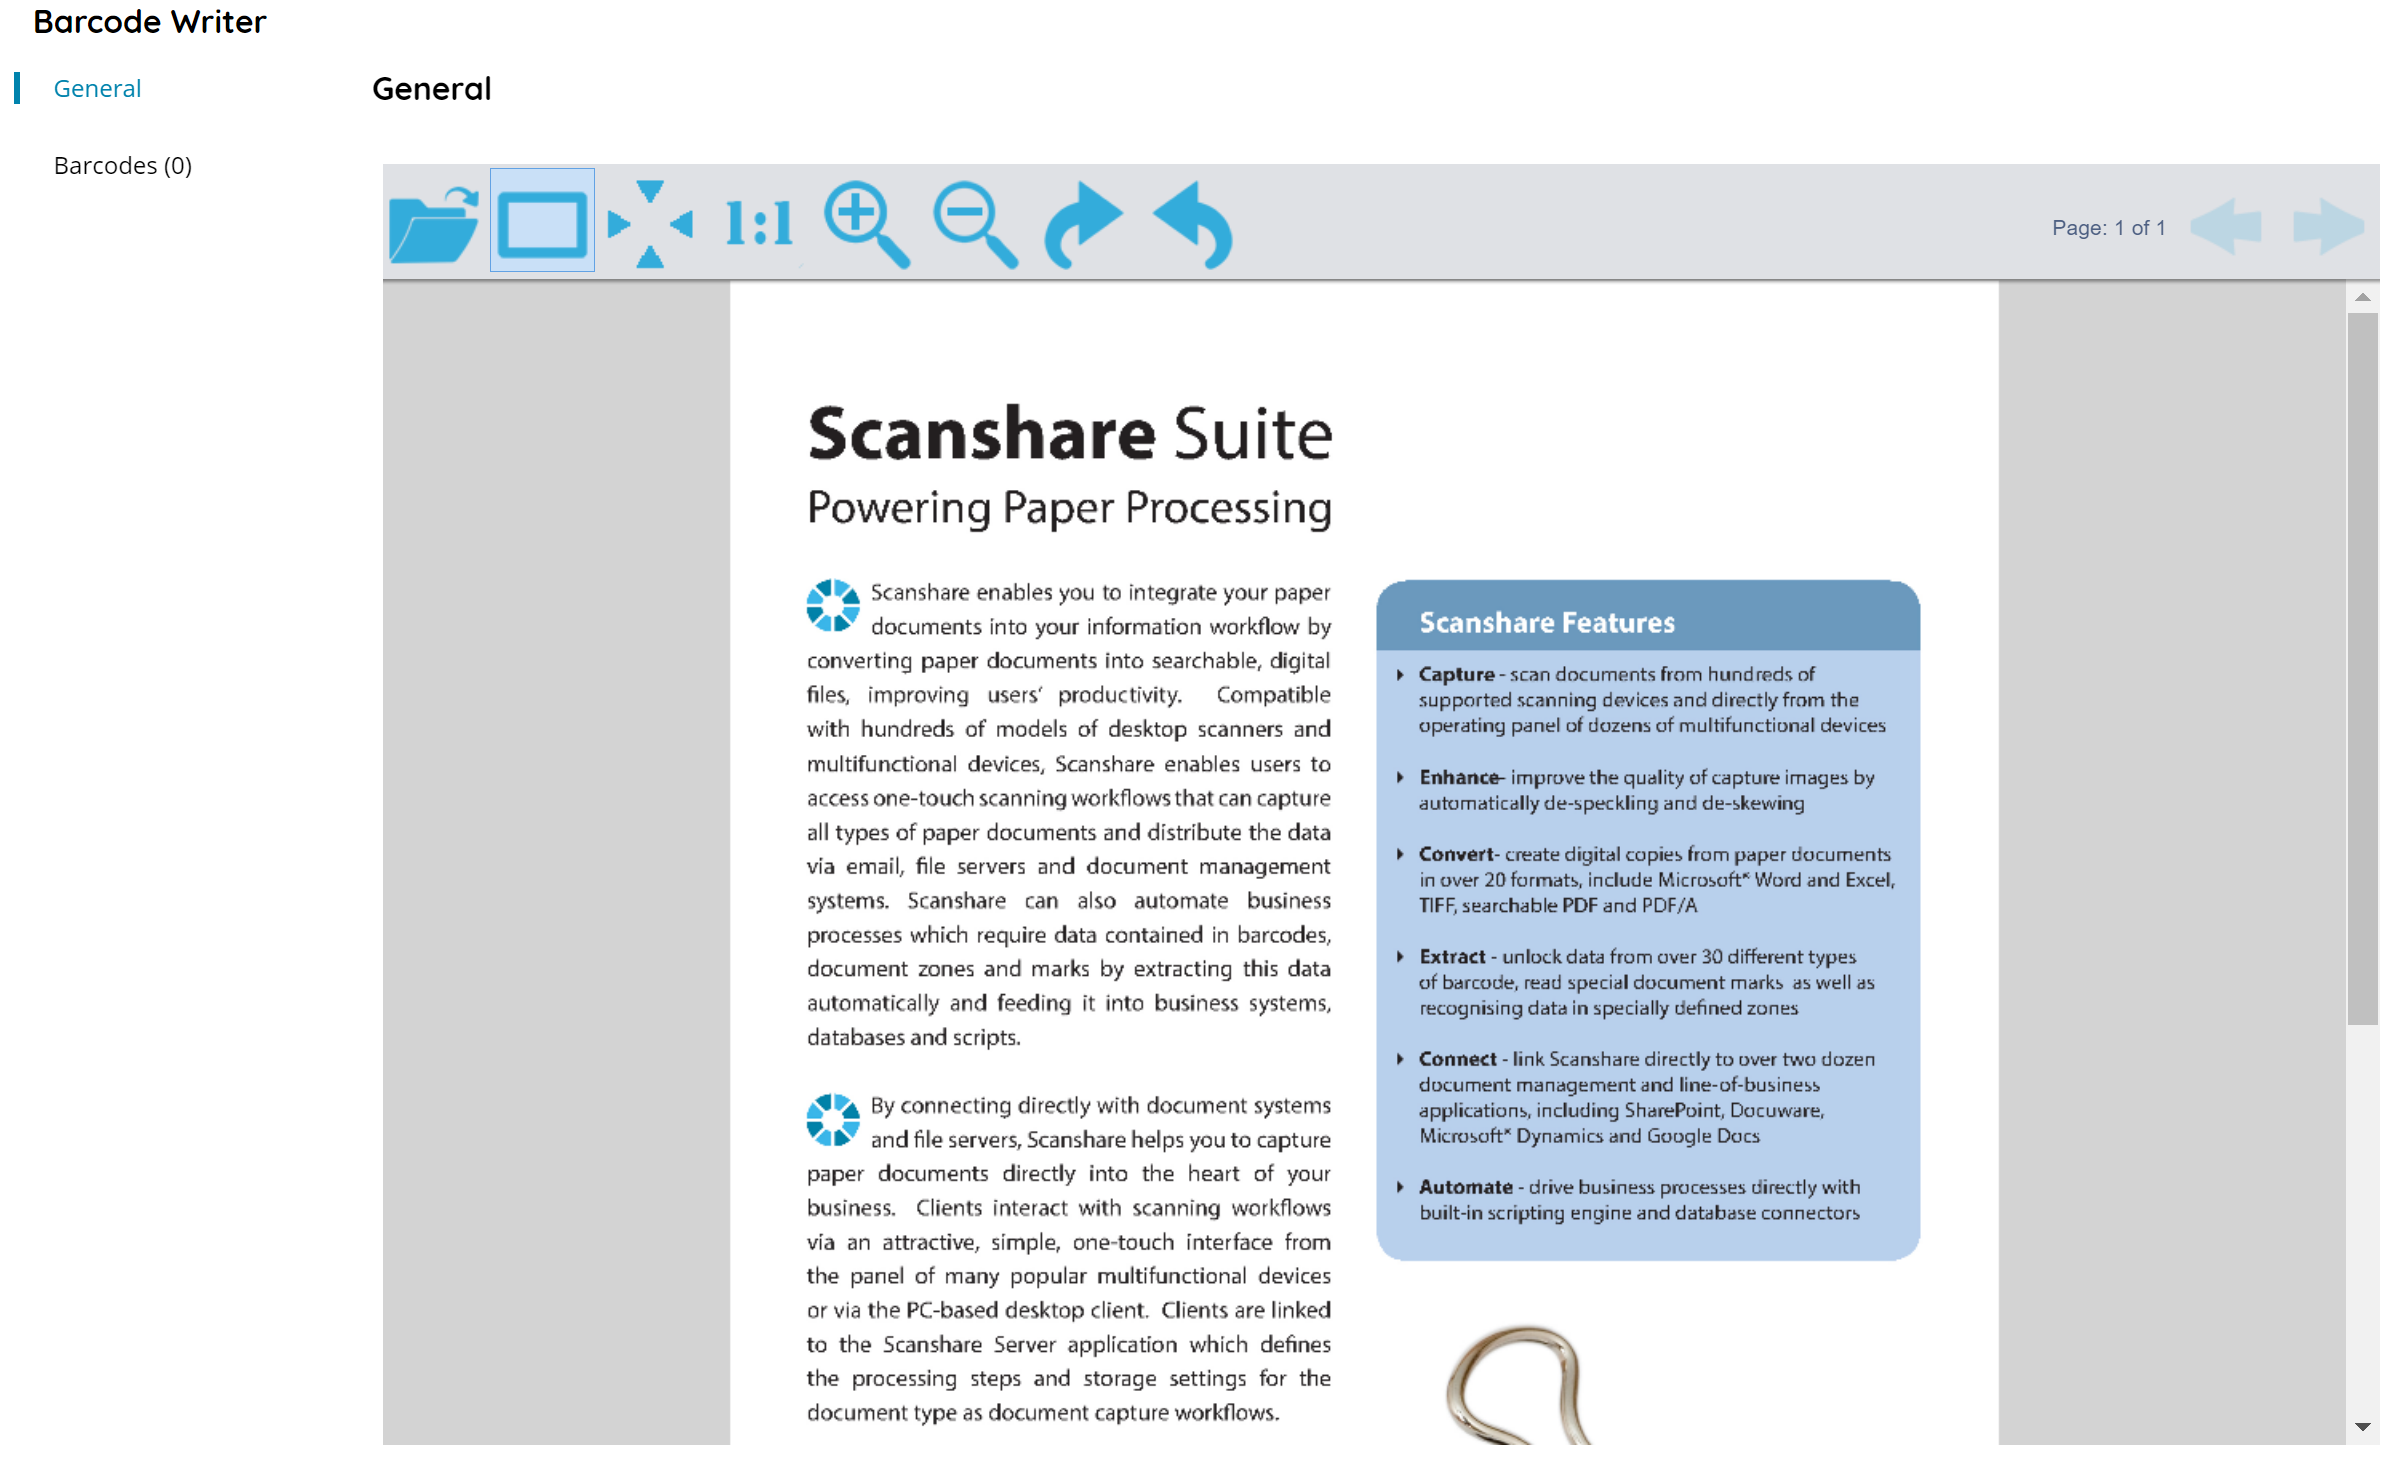
This section shows a sample built-in document preview, moreover it allows to load real document samples in order to draw and create the target barcodes to generate.
On the top bar document controls are available:
• Load Image
Browse to open and load (by uploading to the server) a sample document to render on the preview pane.
The sample document will be saved inside the module settings and reopened the next time the module is configured by using the document file uploaded to the Scanshare data folder.
If the document file has been removed or the Workflow has been exported on a new machine where the sample document file is not existing the preview will render with a big red cross X, however zones are existing and fully working unless they are modified.
• Draw recognize area
With this option, you can manually select an area where the application should create the barcode into.
• Fit
Fit the document to the current view.
• One to One
Enlarge the document to the 100% zoom ratio into the current view.
• Zoom In
Zoom In the document into the current view.
• Zoom Out
Zoom out the document into the current view.
• Rotate Clockwise
Rotate clockwise direction the document by a manner of 45 degrees.
• Rotate Counter Clockwise
Rotate counter clockwise direction the document by a manner of the 45 degrees.
• Page
Displays the current preview page number on the total number of pages of the document.
• Previous page / Next page
Load and display the previous or next page preview of the document.
Barcodes
The table shows a list of all configured barcodes.
The view of the table is very easy and intuitive:
• Value
The value assigned to the zone which will be encoded in the generated barcode.
• Id
The id associated with your zone. It is unique and it is the id of your zone inside the DB.
• Status
If the barcode is enabled or not, a disabled barcode will not be used. The status of a new barcode is automatically set to true when a new barcode is created. In the barcodes menu you can easily set this to false by clicking on the indicator. The barcode will then be greyed out, the indicator will be gray and set to off and it will be skipped during the recognition.
Barcode

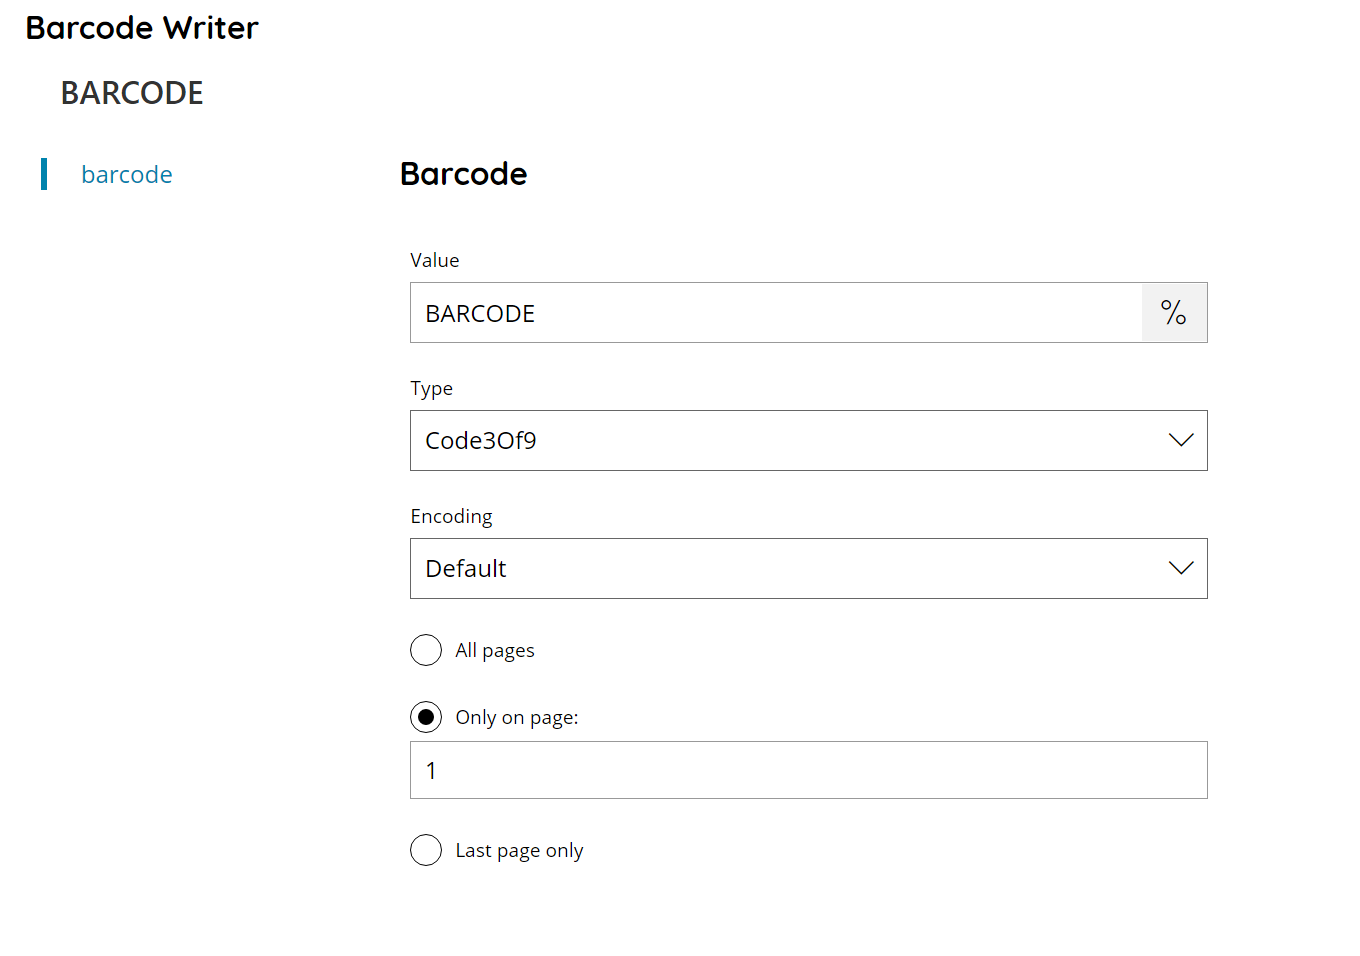
Value
Enter the value to encode into the current barcode value, or click on the Variables button on the right, to select a variable which will contain the target value.
Type
Select the type of barcode to create for the current rule. Based on the selected type the barcode will be automatically adapted to the selected area to comply with the specific barcode type specification, if any.
Please refer to the Barcodes Appendix chapter for the supported barcode types.
Encoding
Select the encoding to be used to encode the barcode data, if different from the default. When customized the specified Value will be converted into the barcode raw data by using the specified encoding type. Available options are:
- ASCII
- Unicode
- BigEndianUnicode
- UTF7
- UTF8
- UTF32
- Custom
When Custom is selected enter the name of the custom encoding inside the Value field which will appear upon the selection.
All pages
If selected the barcode will be created automatically on all pages in the same position.
Only on page
Enter the number of the page where the current barcode needs to be created. This automatically contains the number of the page of the sample document where the barcode has been drawn.
Last page only
If selected the barcode will be created only on the last page of the document, whatever number of pages the current document has got.
